
Page 4 of 5
Step 3: Booting the Raspberry Pi
- Insert the microSD card into the Raspberry Pi 5.
- Connect the power supply to the Raspberry Pi 5.
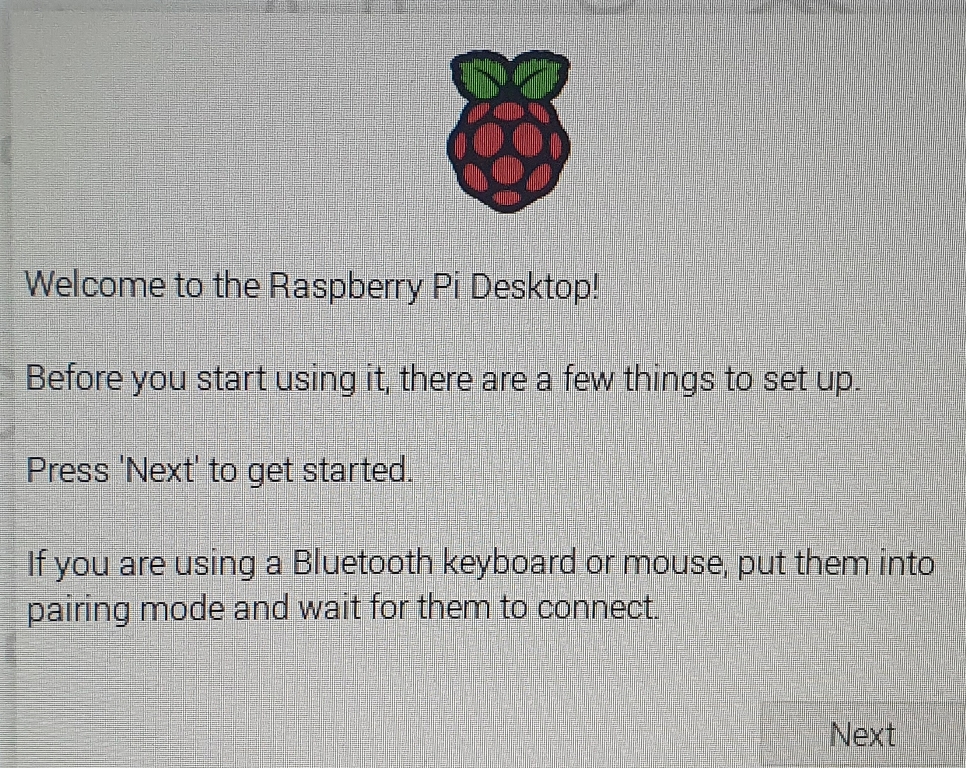
- The Raspberry Pi will boot up, and you should see the welcome screen on your monitor.
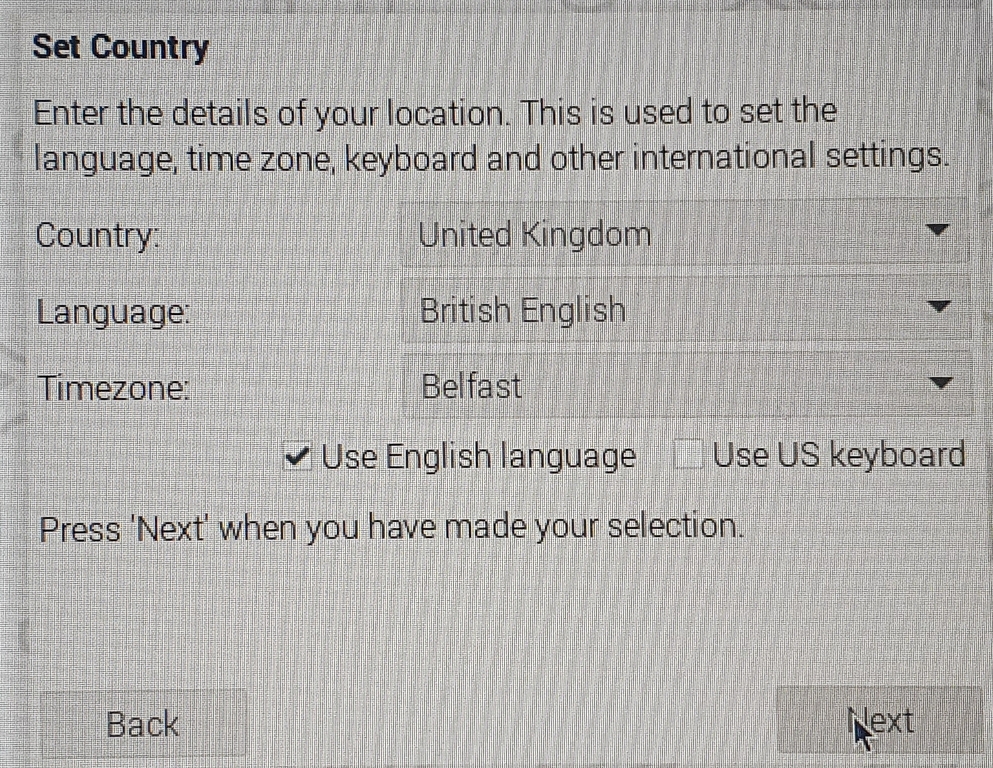
- Follow the on-screen instructions to set up your Raspberry Pi OS. The next one should be the keyboard setup.
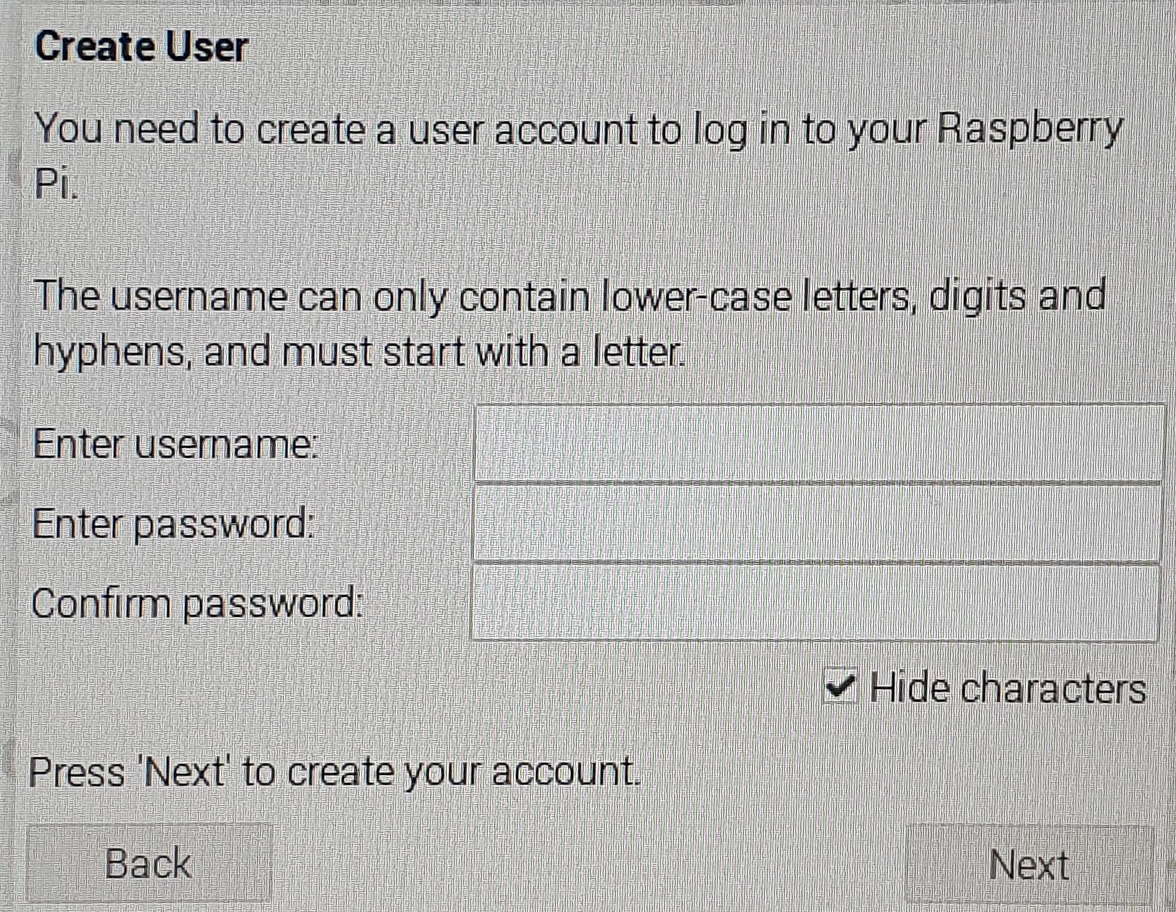
- Then the next one should be the create a user details to be add for logging in to the Raspberry PI
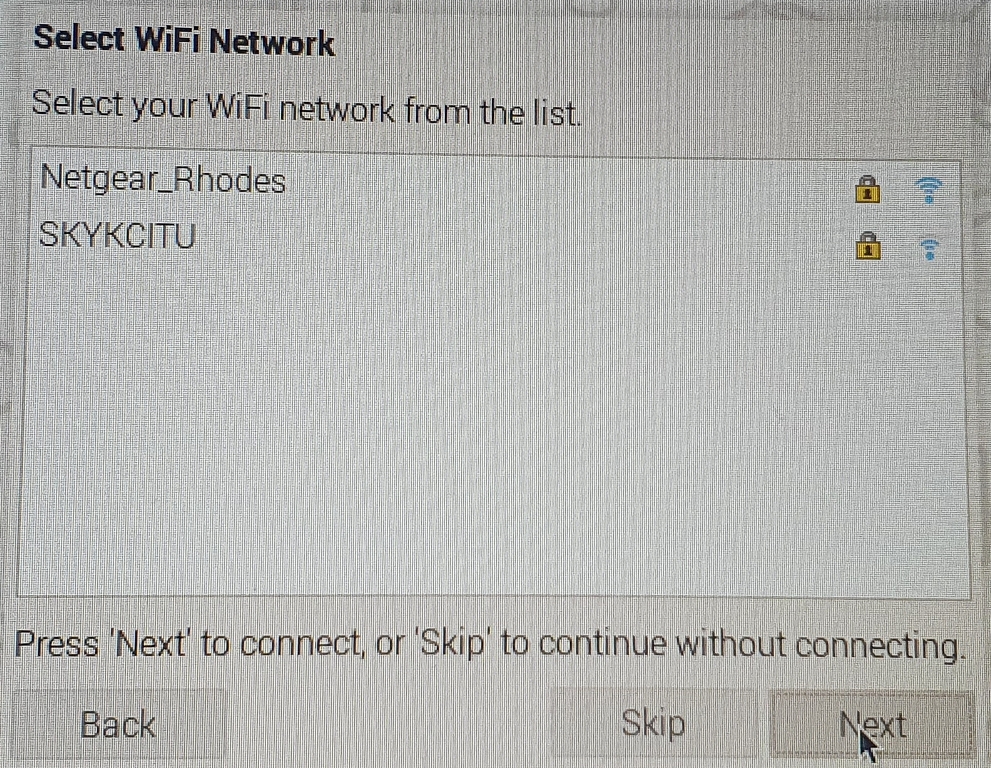
- the next screen should be to choose your Wi-Fi in your house as shown here there are 2 of them so choose you home network.
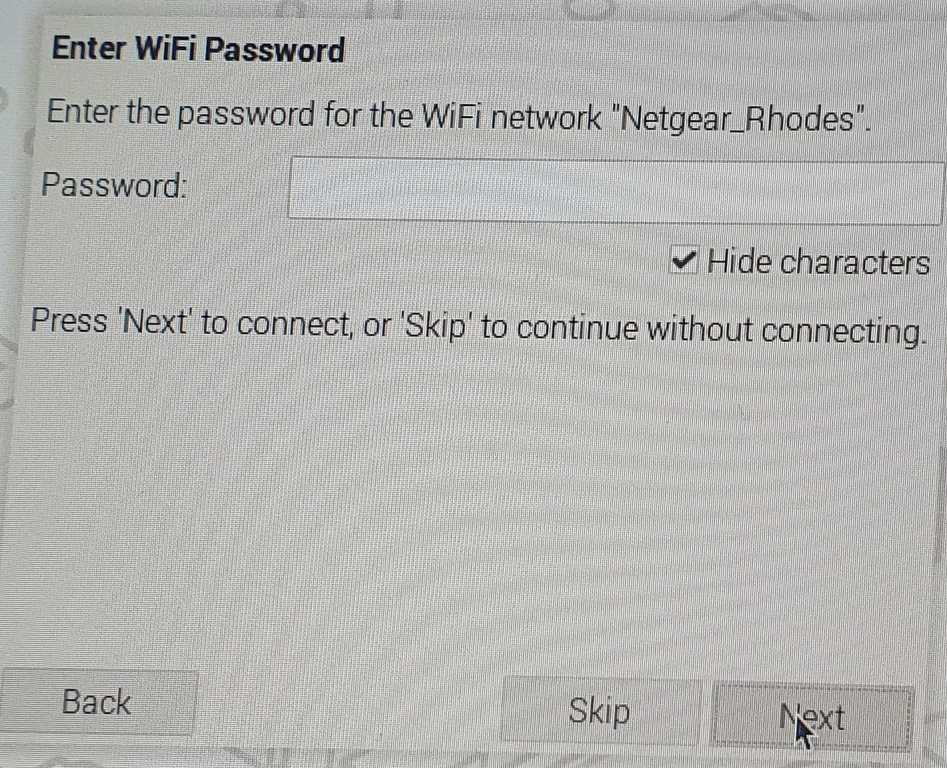
- The next screen is to enter your passwor to your Wi-Fi Network as shown.
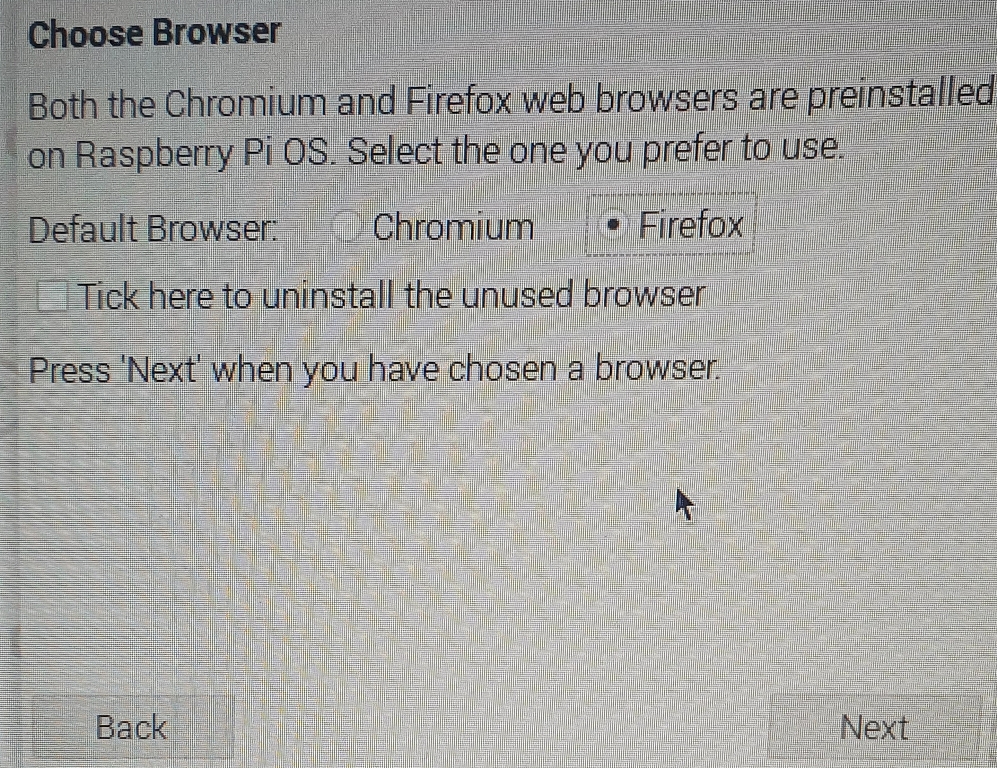
- After this screen you will have an option to install the default browser you want on the OP Sys I choose to install Firefox as i like that browser but the other option was Chromium as shown.
- The next screen should be a new system update is available to download.
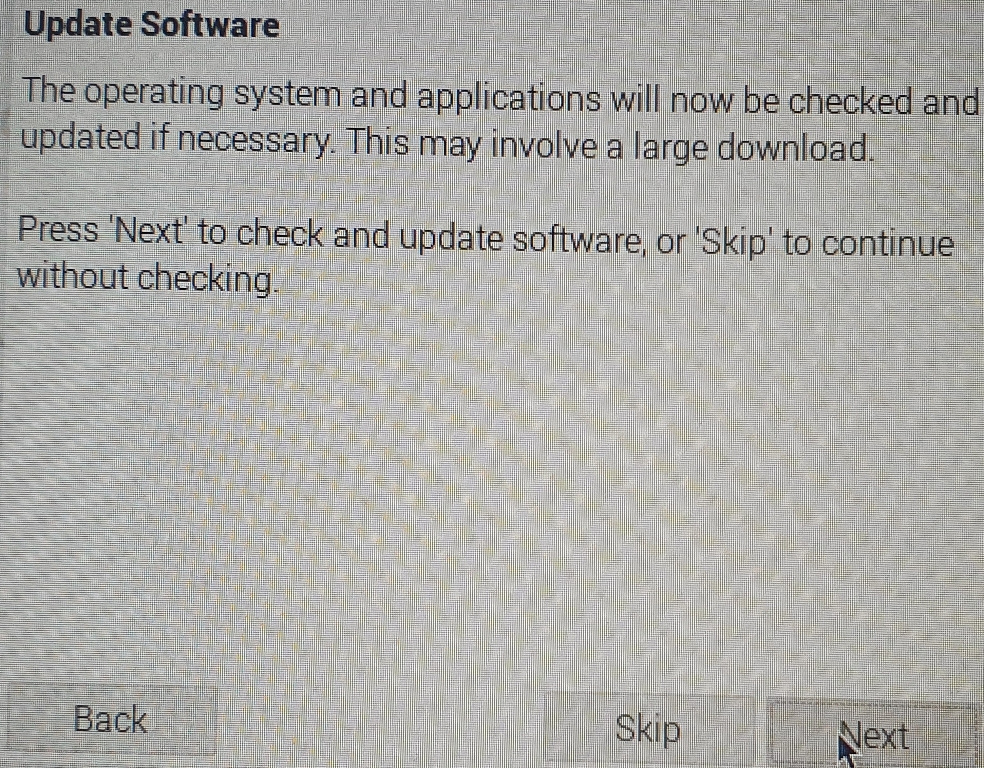
- Click next with install the new update which could take a while but once it has been installed it will as you for a restart as shown.
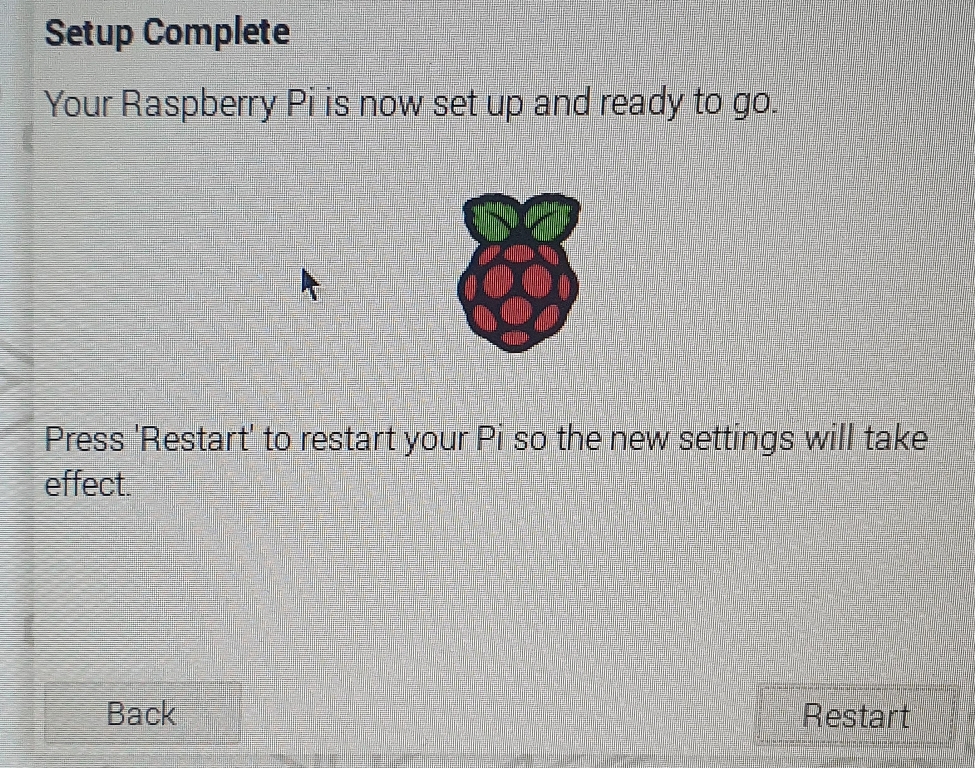
- after the restart you should get the next screen which is the desktop of you linux program on the Raspberry Pi you install.

- Now you are set to use linux anywhere you want to. Sorry for the picture as some of them don't like right but it was the type of camera i was using but i did my beat to show you want you would see then setting up the Raspberry Pi for the first time.