
How to Set Up Your Raspberry Pi 5
A complete guide to get your Raspberry Pi 5 up and running in no time.
Introduction
The Raspberry Pi 5 is the latest and most powerful version of the Raspberry Pi family. This guide will walk you through setting up your Raspberry Pi 5 from scratch, including preparing the hardware, installing the operating system, and configuring the device.
What You Need, (I got mine from Amazon i'll link them below)
Step 1: Preparing the Hardware
- Insert the microSD card into your computer.
- Attach heatsinks to the Raspberry Pi 5 (if needed).
- Connect the Raspberry Pi 5 to a monitor using an HDMI cable.
- Plug in the keyboard and mouse to the USB ports.
Step 2: Installing the Operating System
To install the operating system, follow these steps and ill show you with screenshot if your going in the right direction:
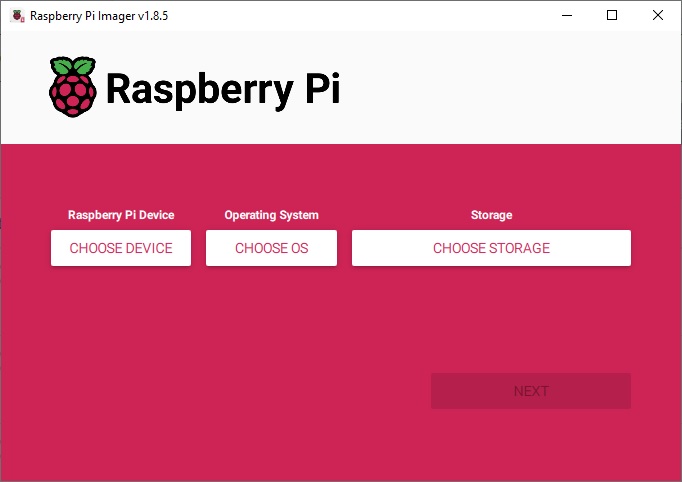
- Download the Raspberry Pi Imager on your computer.
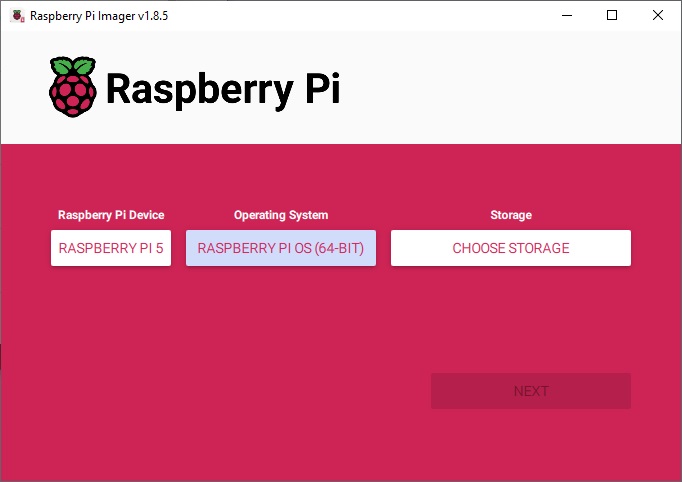
- Run the Raspberry Pi Imager
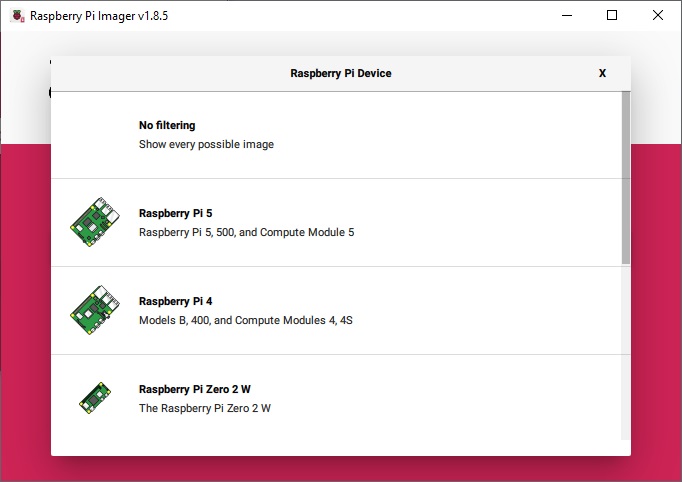
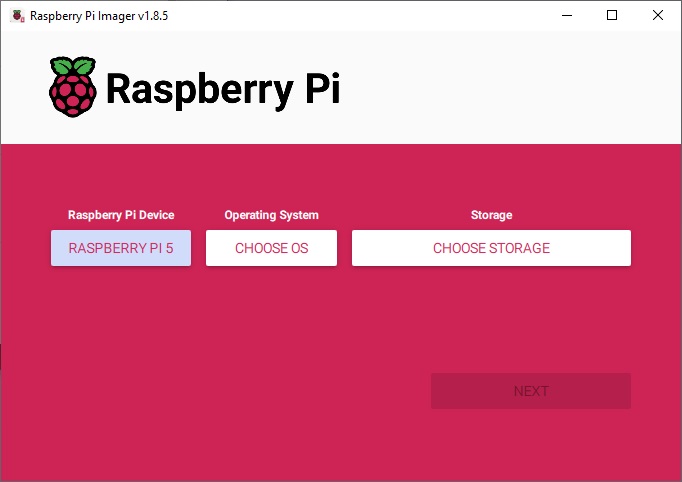
- Now choose your device in this case its a Raspberry Pi 5
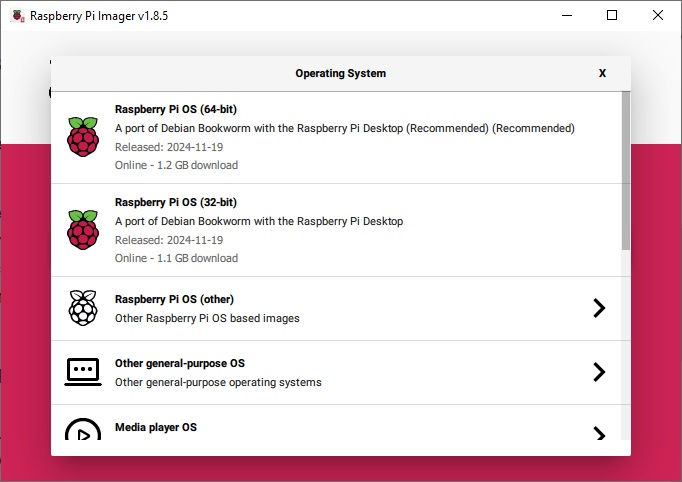
- Now Choose your Operating System.
- Select the Raspberry Pi OS (64-Bit) from the list.
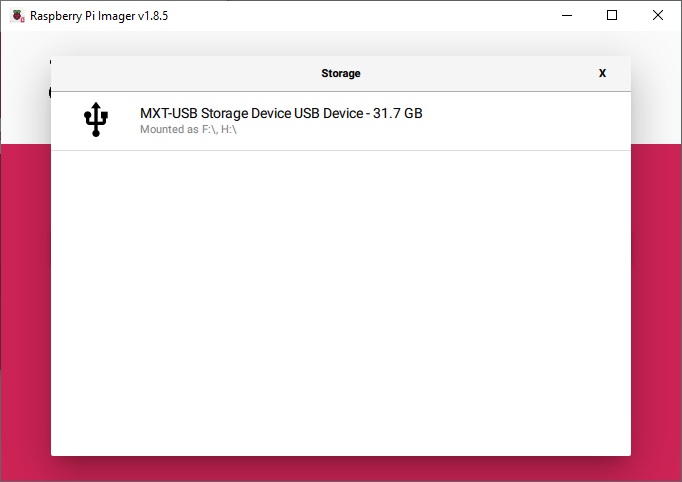
- Now choose your storage.
- Select your microSD card as the storage device.
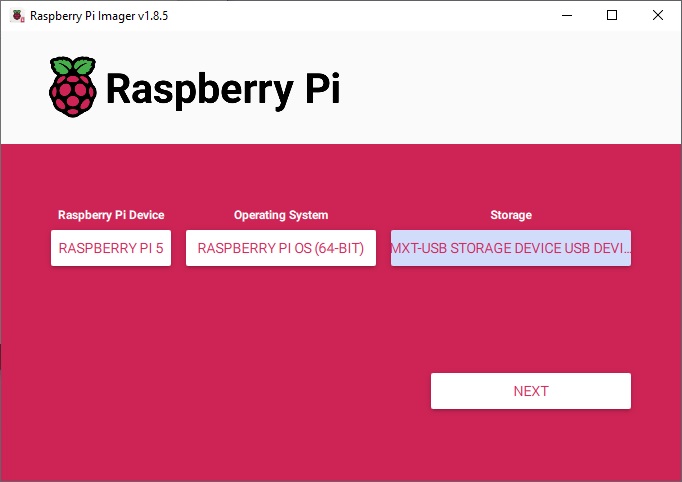
- Click on Next to install the OS onto the microSD card.
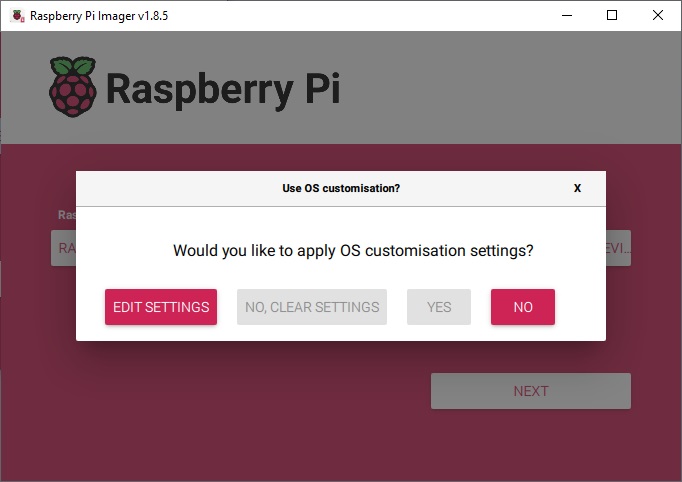
- You can select edit if you want to edit you setting for the SD Card when you put it in you PI but in this case we will stick to default and say No
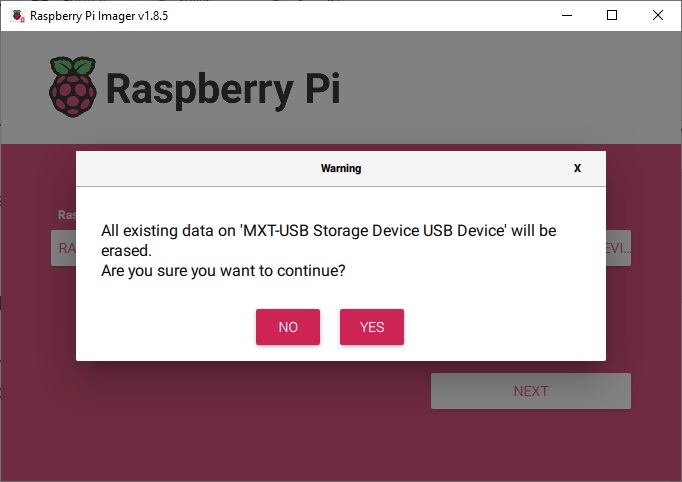
- You get a warning that the SD Card will be erased so click Yes to continue
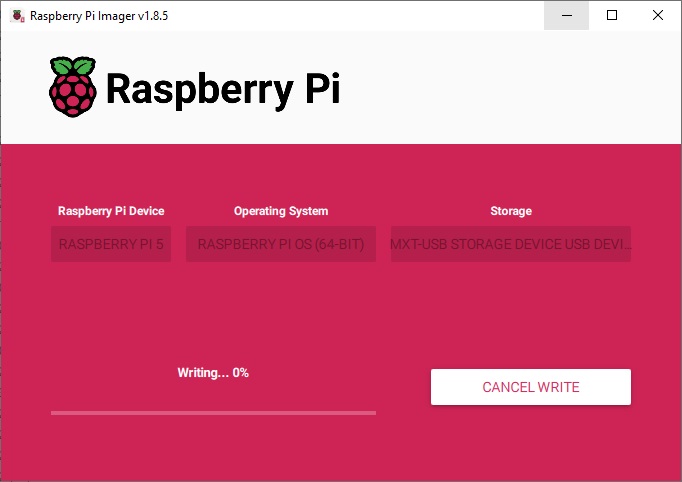
- This will start to write to your SD Card now and can take a while to finish.
- When it has finished you will get this message
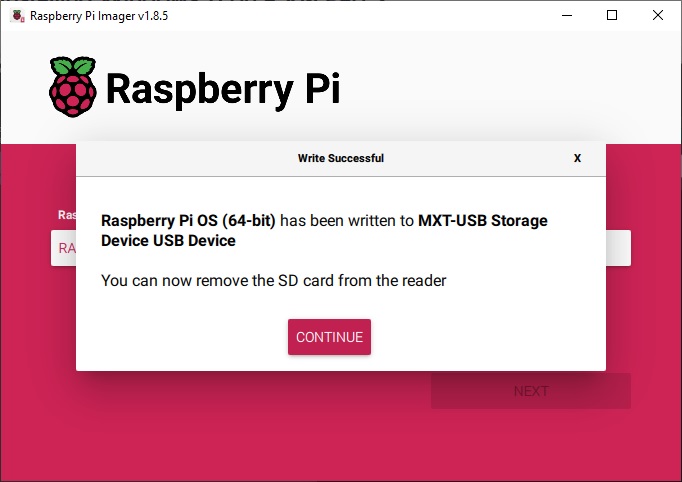
- Once the process is complete, remove the microSD card from your computer.
Step 3: Booting the Raspberry Pi
- Insert the microSD card into the Raspberry Pi 5.
- Connect the power supply to the Raspberry Pi 5.
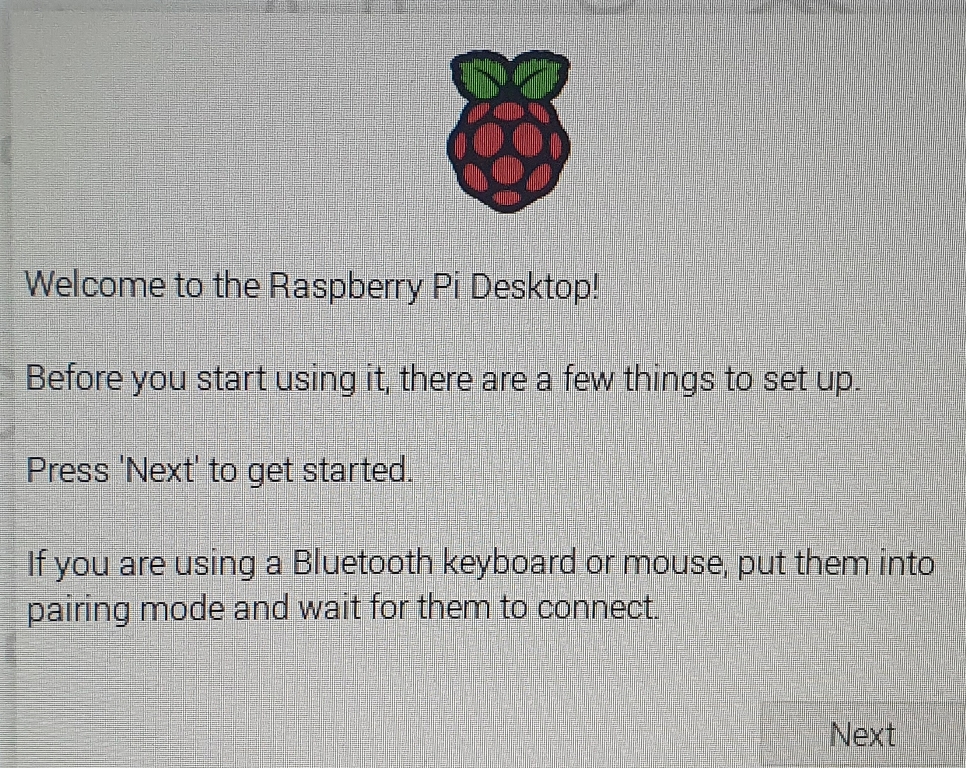
- The Raspberry Pi will boot up, and you should see the welcome screen on your monitor.
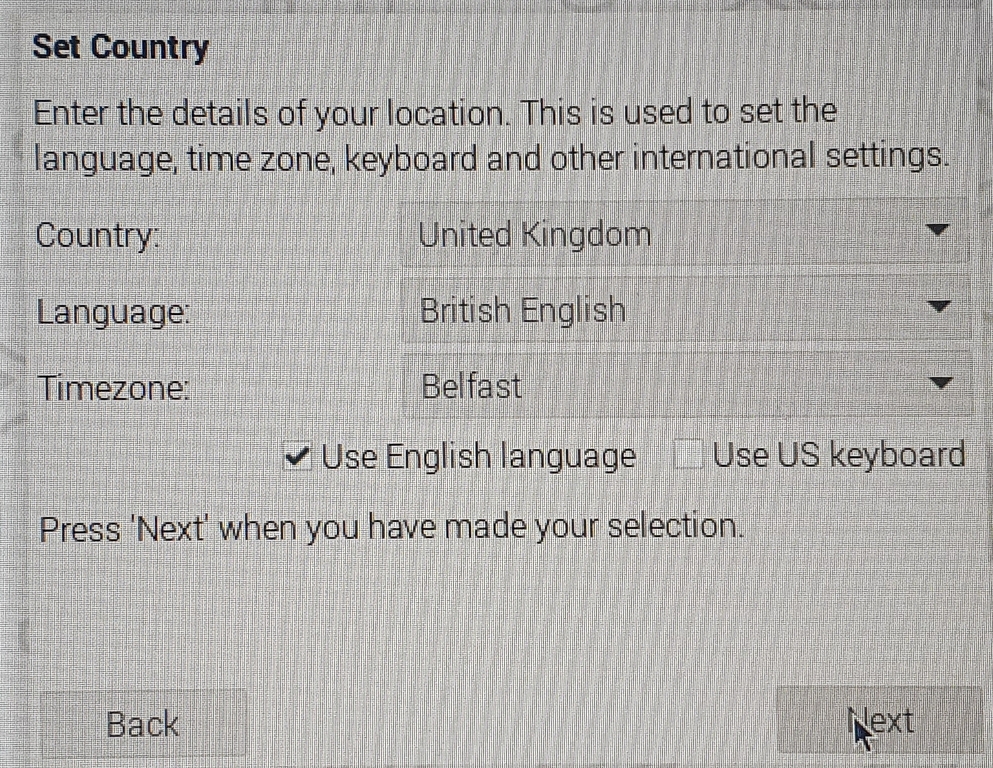
- Follow the on-screen instructions to set up your Raspberry Pi OS. The next one should be the keyboard setup.
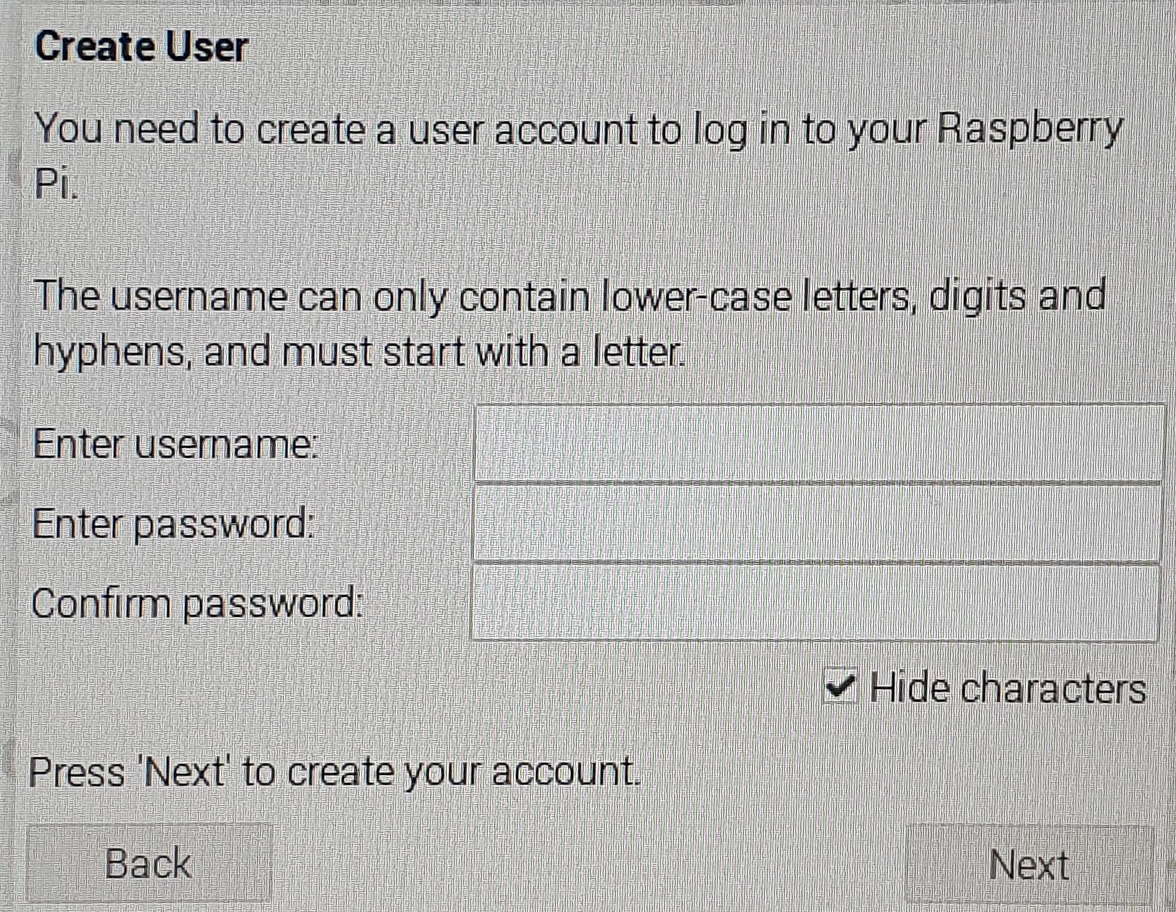
- Then the next one should be the create a user details to be add for logging in to the Raspberry PI
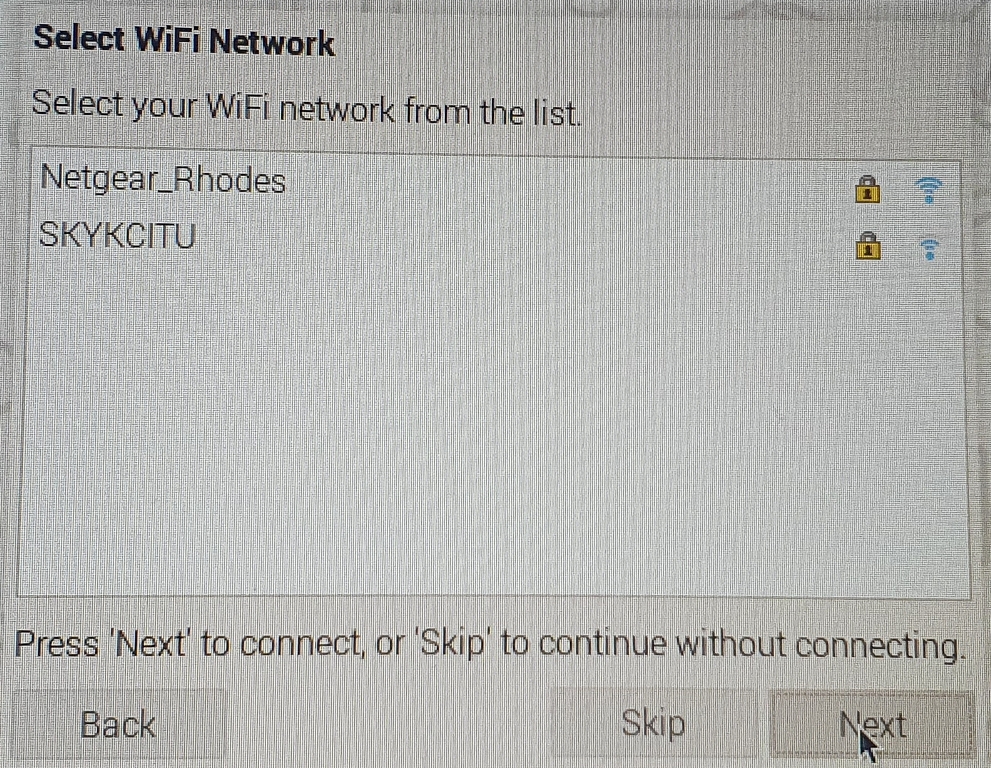
- the next screen should be to choose your Wi-Fi in your house as shown here there are 2 of them so choose you home network.
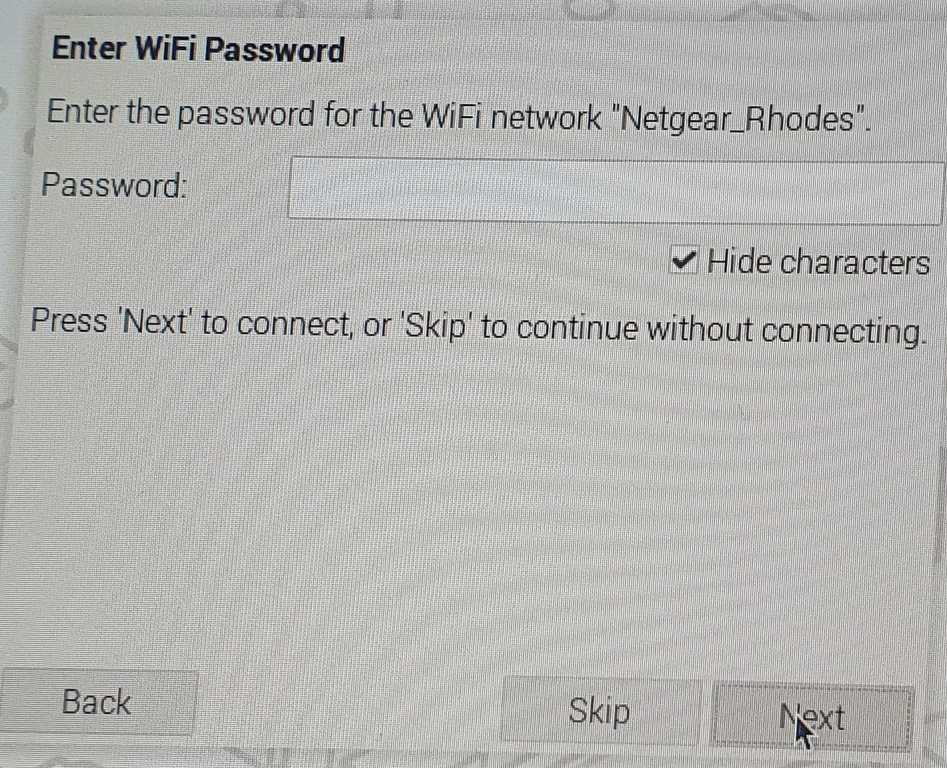
- The next screen is to enter your passwor to your Wi-Fi Network as shown.
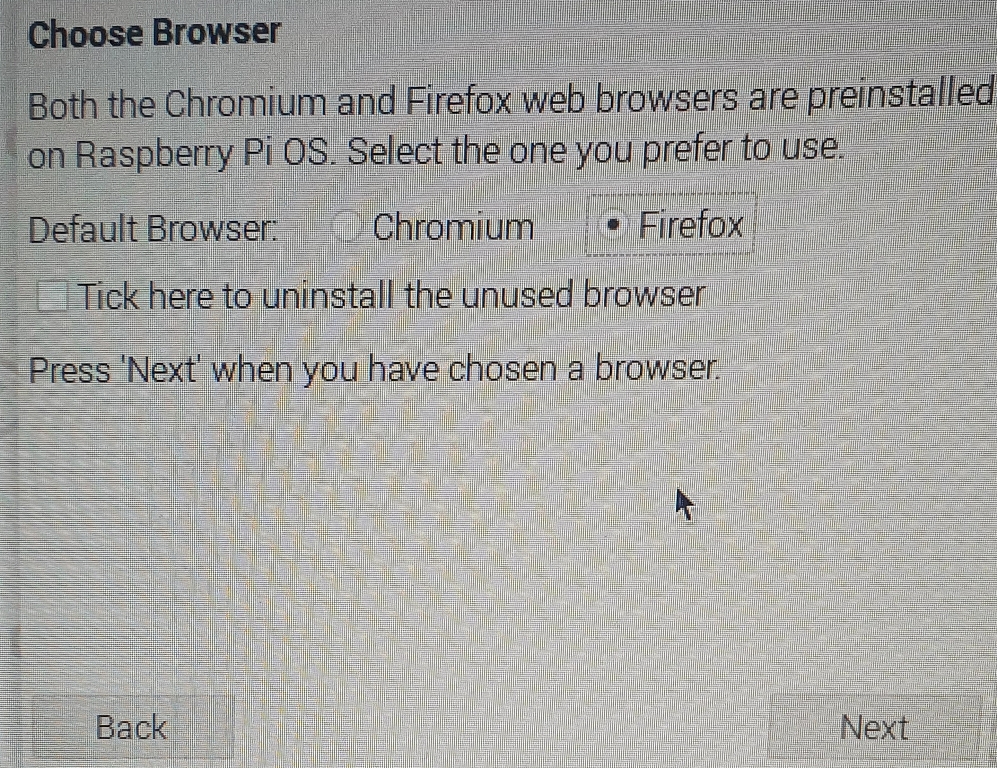
- After this screen you will have an option to install the default browser you want on the OP Sys I choose to install Firefox as i like that browser but the other option was Chromium as shown.
- The next screen should be a new system update is available to download.
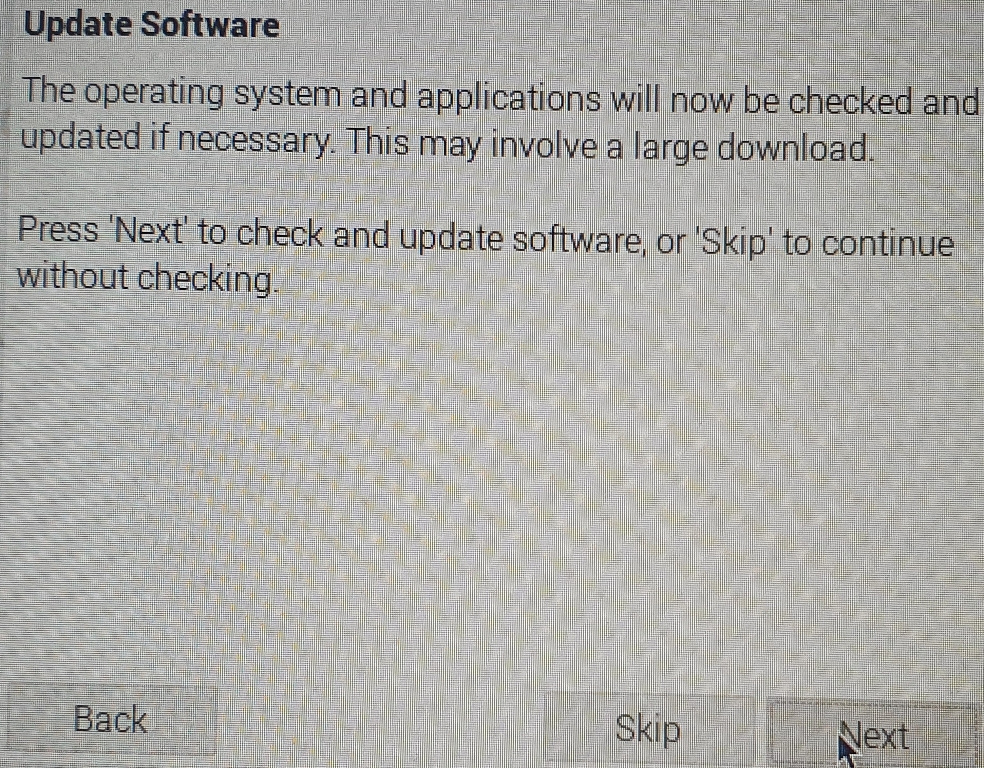
- Click next with install the new update which could take a while but once it has been installed it will as you for a restart as shown.
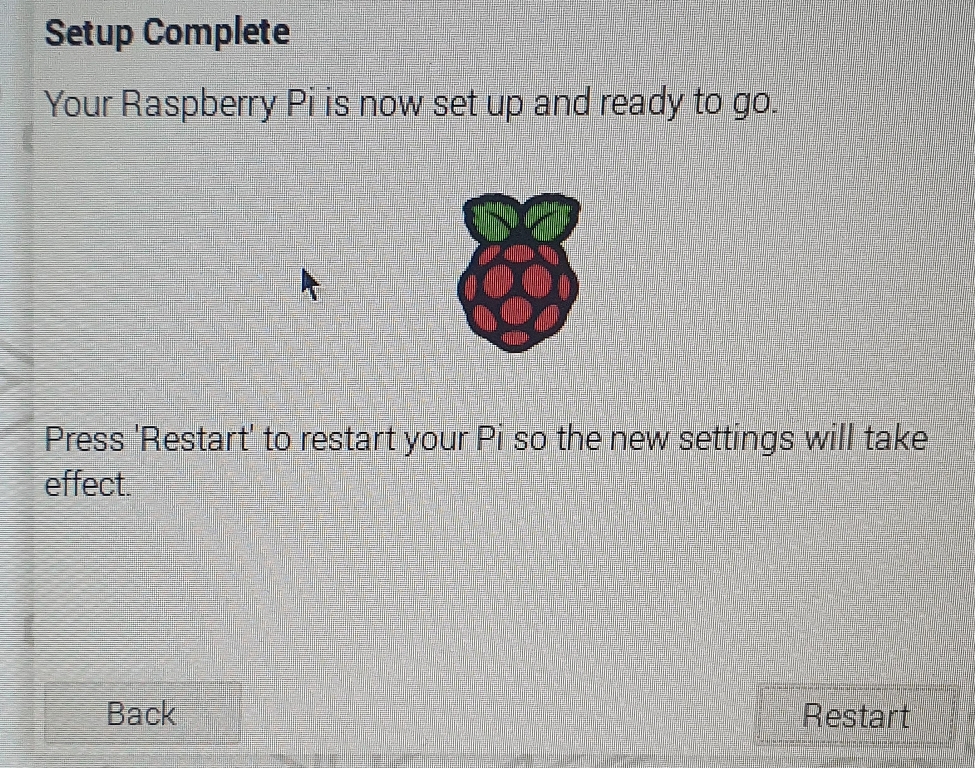
- after the restart you should get the next screen which is the desktop of you linux program on the Raspberry Pi you install.

- Now you are set to use linux anywhere you want to. Sorry for the picture as some of them don't like right but it was the type of camera i was using but i did my beat to show you want you would see then setting up the Raspberry Pi for the first time.
Step 4: Configuring Your Raspberry Pi
After the initial setup, you can configure your Raspberry Pi further:
- Update the system by opening a terminal and running:
sudo apt update && sudo apt upgrade -y - Enable SSH for remote access by running:
sudo raspi-configand navigating to Interface Options > SSH. - Install additional software as needed using
sudo apt install <package-name>.
Troubleshooting
If you encounter issues, here are some tips:
- No display: Ensure the HDMI cable is securely connected and the monitor is powered on.
- Not booting: Recheck the microSD card for proper OS installation.
- Network issues: Verify your Wi-Fi credentials or try using an Ethernet cable.
Conclusion
Congratulations! You have successfully set up your Raspberry Pi 5. Explore its capabilities and start building your projects. For more resources, visit the official Raspberry Pi website. Also to mention that i have tried the Raspberry Pi on a power bank with 2 USB ports so that i can use a monitor that uses the USB C type connector on it which i used for the pictures in step 3. It worked but i had a voltage problem as the Raspberry Pi needs 5V 3A to run and the power bank was 5V 2A so to get rid of this message you need a power bank with 3A or higher.